Showing posts with label R/C heli build. Show all posts

Thursday, September 28, 2006

T-Rex - Crashed again

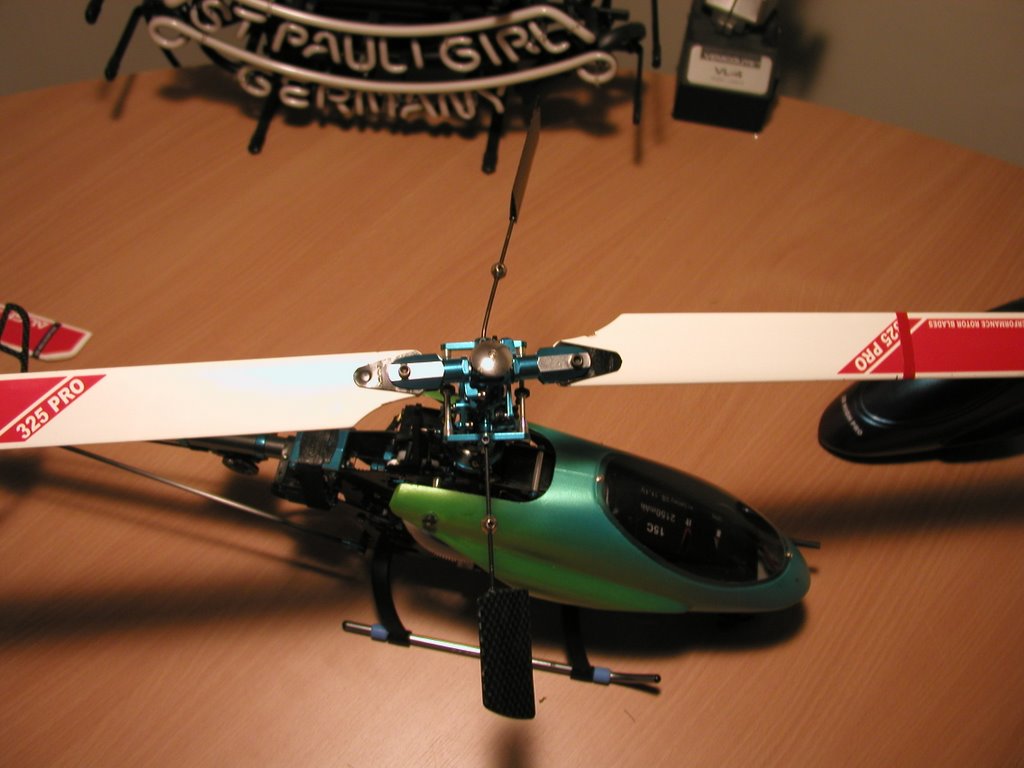
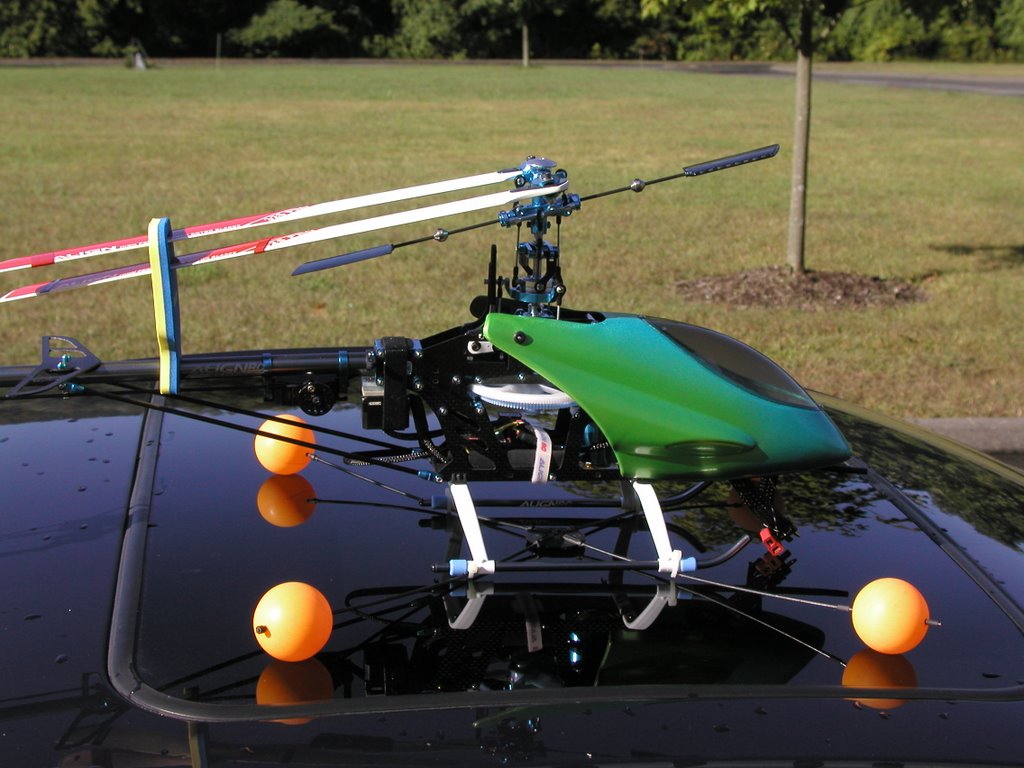
So I went to my personal field, the cemetary, to get in a couple of flights and was surprised to find a bunch of people burying someone in my field...bummer. I decided to go to a different location to fly. The other location was different in that there was no flat surface to take off from. I tried it anyway and you can guess the rest. I think I got some grass caught up in the tail rotor or something. Needless to say I crashed again. The crash wasn't that bad I had all of the parts to fix the problem but I am still re-setting up my head. I am still struggling with getting equal positive and negative pitch on the blades. Anyway the saga continues.


Crash analysis:

2 dented blades but still useable
bent flybar
bent feathering shaft
bent main shaft
main gear shredded

Thursday, September 21, 2006

T-Rex - Still tweaking

The T-Rex is still kicking. I have been flying as much as I can which isn't much due to how late I get home from work and how early it has been getting dark. I made some changes to the setup: First off I moved up to the 13 tooth pinion gear (the gear on the motor) this gives me more head speed, and creates more stable flight characteristics. I also bought some more batteries and 2 sets of "Gorilla Gear" landing gear, the stock landing gear is a joke and is very brittle. I also bought a digital caliper and a new Align hex wrench.


Money In the Pit

$138 batteries and Gear from RcHover
$10 Calipers from Harbor freight

Total so far: $1826.20

Friday, September 15, 2006

T-Rex - First crash

I finally crashed it! I m not a virgin any more. I totally dumb thumbed it right into the ground. With all the time I put into the build I didn't have time to fly on the sim and it shows. I have since made it a policy to fly every night regardless! I am about ready to get rid of the training gear, I know I can fly without them, I was just trying to protect my investment.

Crash Analysis:
Feathering shaft
Fly bar
Main Shaft
Main gear,
Landing gear
Pro Wood blades

I had most of the parts except for the landing gear, main shaft, and main gear. My LHS had everything I needed. The actual cost of the crash wasn't that bad... maybe $25, but I bought some extra parts that I know I will need for future crashes.

Here is a video of the crash http://video.google.com/videoplay?docid=-1279739640755098434&hl=en

I will be adding more pictures soon, my friggin server is not liking my usb 2.0 card and I am too impatient to transfer pictures @ usb 1.1 speeds.

Money in the pit:

$89.00 various parts from Hobbytown USA

Total so far:
$1678.20

Sunday, September 10, 2006

T-Rex - First flight

Well I got the heli in the air. The first flight was unremarkable in that it was just to see if everything was trimmed just right. I had to adjust a few of the links so that the heli wouldn't drift in any particular direction. I also found out that I had the rudder servo reversed...that means that the rudder input was backwards. Servo reversing is very easy to fix, you just go into the reverse settings on the radio and reverse that channel. Problem solved. I also decreased the negative pitch to -1 degree at low stick. The negative pitch set to -1 allows for a beginner (me) to have some room for error in the event of a panic low stick and prevents the pilot from slamming the heli into the ground. I have a video of my second flight. It is just another test flight.

My server crashed, therefore I had to rebuild my OS partition. I lost all of my heli pics as they were in my www root directory. I am getting good at installing and configuring exchange server... which is a good thing.

Here is the video link.....more to follow.

http://video.google.com/videoplay?docid=-2517156347215222977&hl=en

Thursday, September 07, 2006

T-Rex - Final Steps

The last steps involve programming the ESC, Setting up the gyro for heading hold, and creating throttle and pitch curves in the radio. To setup the ESC you must have the throttle stick in low position before you power the heli, once you do this you hear a series of beeps that indicate to the user which settings they have. I will not go into what all mean. One of the coolest things about this setup is the Gyroscope. The Gyro automatically adjusts the pitch of the tail rotors to compensate for the change in heading. So, whithout any stick input from me, if I move the tail to the right the tail pitch compensated by itself, and then when the movement stops the pitch returns to center. Is cooler than it sounds. I am not going to try and explain throttle curves.

Here is a quick little vid of my bird.

Money in the pit:
$56.85 Parts and tools from Readyheli.com


Total so far $1589.20

T-Rex - Tuning the head

Well after waiting around for that receiver crystal (no not Dilithium)to show up in the mail and driving all over Connecticut looking for one, I had the brilliant idea to try the crystals from my other copter and guess what! they worked!! yeah so All in all it was a good thing because it gave me time to paint the canopies.

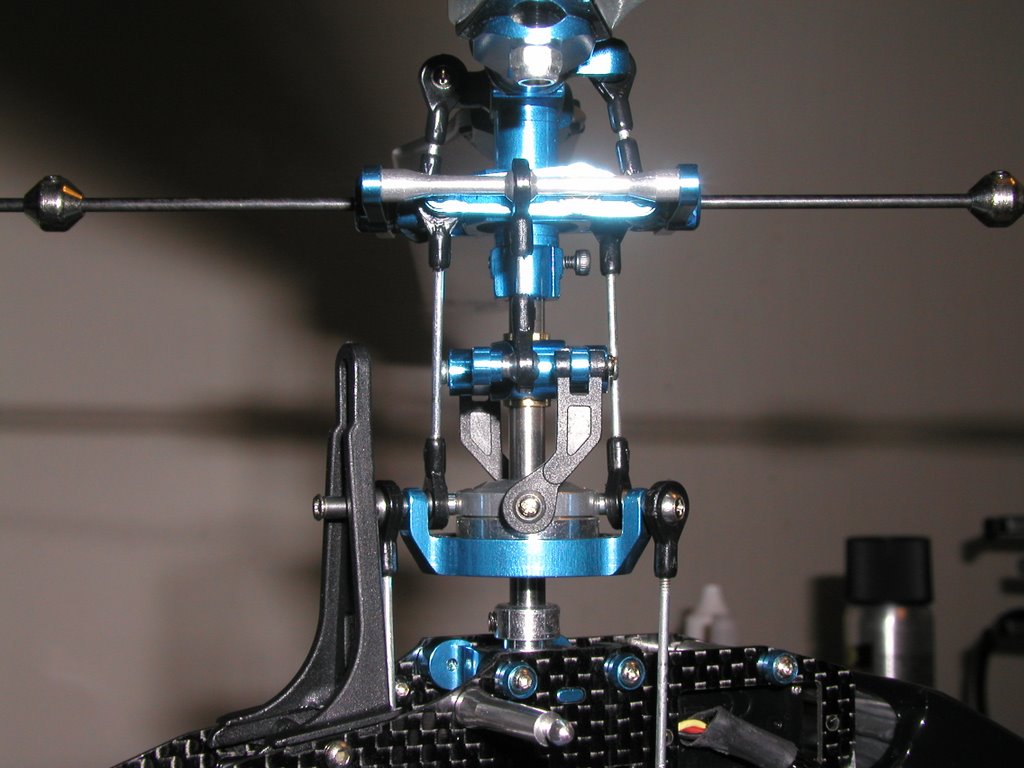
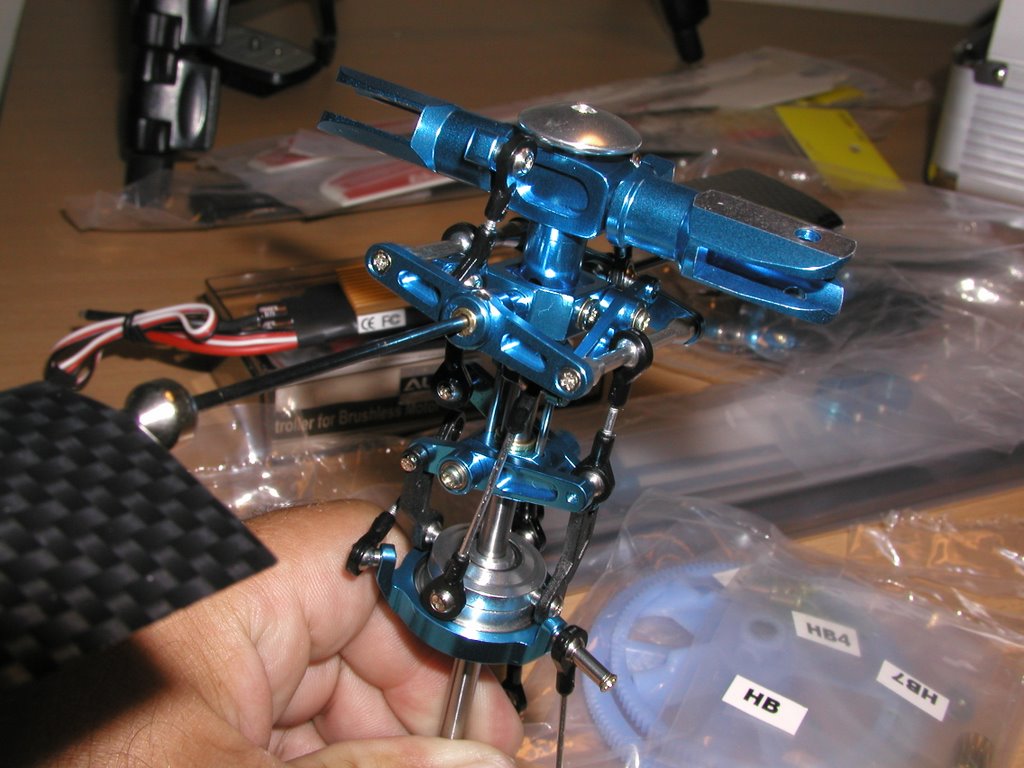
Ok, so the next step in the build process is to setup the servos, control arms and links to make the head operate properly and to allow the bird to fly smoothly. What a frigging pain in the Ass! It took me 2+ days to do this and I am still not completely satisfied. I will try to explain this process but I may not make sense. Ok the servo moves the linkages to the swashplate and that in turn changes the attitude of the helicopter. The linkages also control the pitch of the blades ot either increase or decrease the rate of climb. The trick to this head setup is to get all of the links to work together and control the heli. Lets just say it sounds easier than it is. I was cooked after this step, but I trudged on.

Friday, September 01, 2006

T-Rex - Canopy painting

Well I am waiting for the crystal for my receiver, it still didn't come in the mail. I was impatient so I drove up to 2 of my local hobby stores looking for that crystal..no luck. I did however buy some supplies to paint my canopy. I grabbed some primer and couple of bottles of airbrush paint and some datail masking tape 1/8" in width.

I had already trimmed the canopy flashing that is left over from the molding process. The next step is to scuff the surface with steel wool, or scotchbrite. Once the surface was scuffed I wiped it down with alcohol to remove the dust, I applied 2 coats of grey primer and let dry. I then wet sanded with 600 grit sandpaper. Now for the fun stuff. I happen to have an air brush and compressor so that was money I didn't have to spend. I applied a basr coat of yellow/green pearl and let that dry. I then followed up with a teal pearl fade from the nose forward and up the center. I am no pro with the airbrush but I am pleased with the result. Tomorrow I will be sealing it with multiple coats of clear so that it shines. I might try some accents with the airbrush prior to the clear if I can get the airbrush tuned properly.


Money in the pit

$38.75 Paints and supplies from Hobbytown
$39.69 color shift paints from Countdown Hobbies

sub total: $78.44

Total so far: $1532.39

T-Rex - Tail servo and boom install

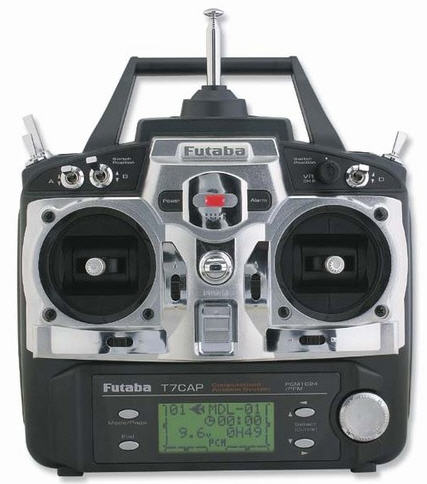
I finally received my Futaba 7CHP radio in the mail on Wednesday. In a previous post I mentioned that I am a dumbass, well would you believe that the only thing that I need is that receiver crystal that I ordered before I ordered my Radio....Grrrrr. A $12 part is preventing me from trimming this bad boy and getting it in the air. Oh well it's in the mail on it's way. Lesson learned.

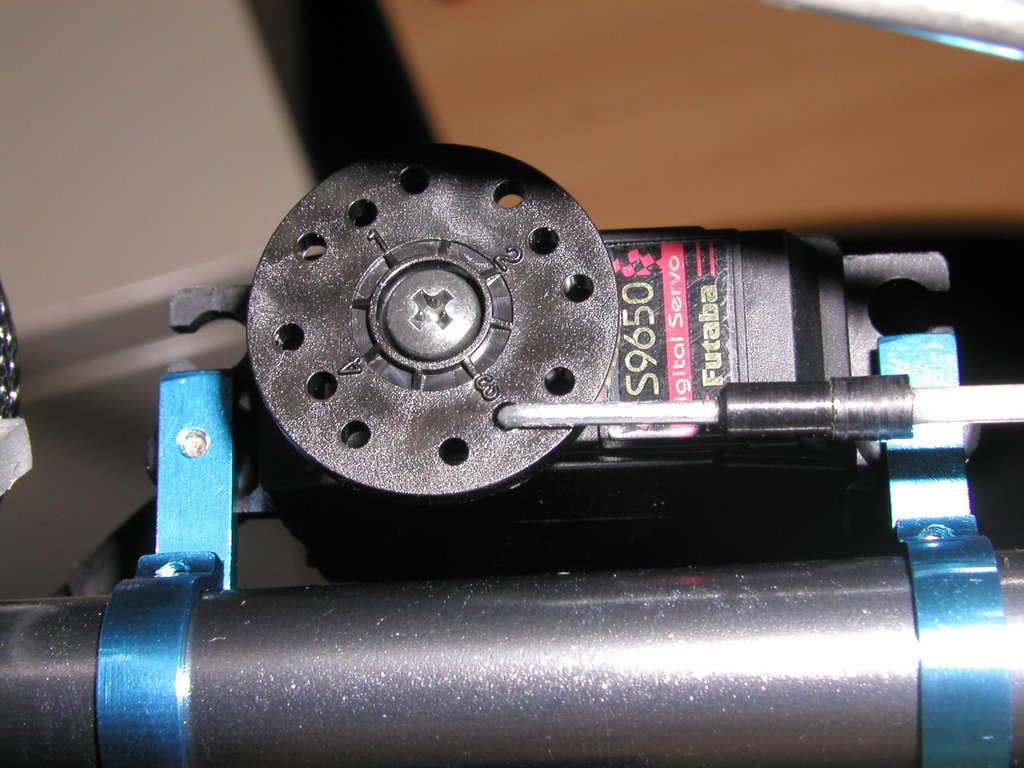
As the title of this post states I will show you some pics and and a brief summary of how my tail servo install went. Well as I have stated before the instruction manual sucks. It never makes mention of how to install the tail servo, so I had to call on the experts at helifreaks.com. My tail servo is the Futaba s9650, it works great with the futaba GY401 Gyro and both are the best for the tail setup for the T-Rex.

The general idea for the proper setup of the tail servo is to have servo arm, in this case the servo disc, be in line with the pushrod race that is built into the horizontal tail fin mount and the tail pitch ball link. (I know that was a mouthfull) In order to do this the servo needs to be on an angle. The orientation of the servo mounts themselves is very important as if you have them upside down the servo horn is too far away from the boom. It took me quite a few tries to get it right. One more note, I used the supplied rubber grommits and metal sleeves with the mount screws that came with the kit.

Tuesday, August 29, 2006

T-Rex - Install receiver/gyro and dressing up the wires

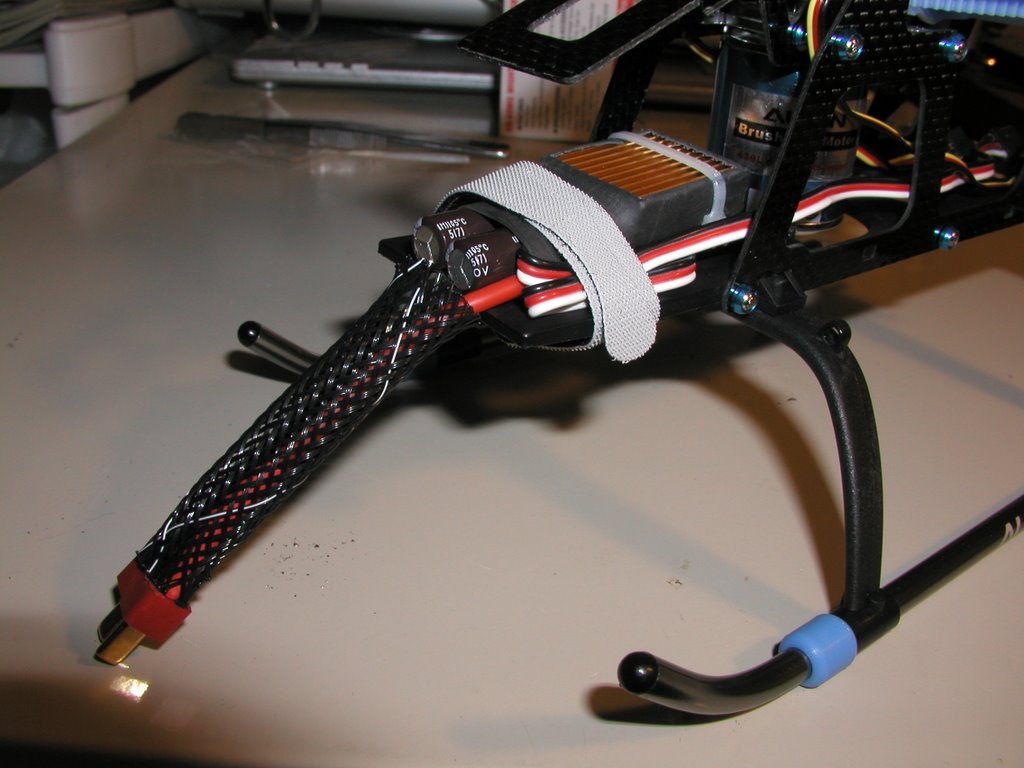
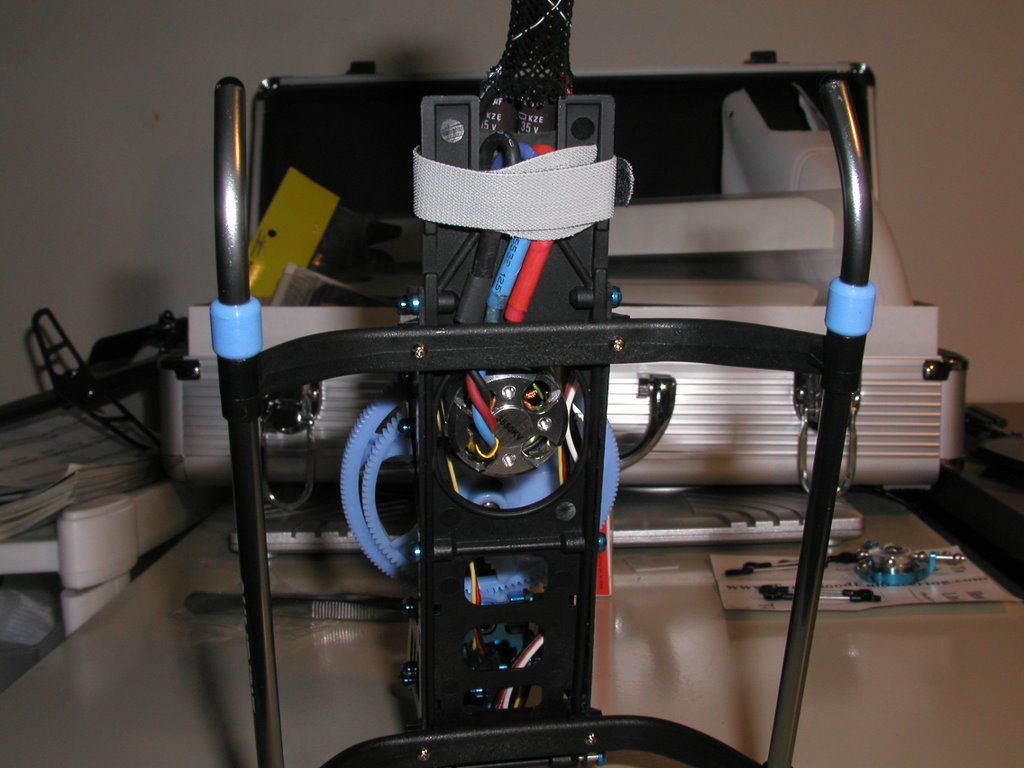
After I was done soldering my charger and batteries, I had time to add wire loom to the wires and plug things into the receiver, the receiver is mounted inside the frame. I also connected the gyro, but I need to figure out how to best manage the wires. The gyro attaches to an aftermarket mount the fits beneath the boom. If you mount the gyro above the boom like the manual states you run the risk of destroying your gyro in a crash as the flybar or blades can come in contact woth it. As you can see from the pictures there is a lot of extra wire on the gyro that I will have to loom and manage, some people shorten the servo lead but I am going to leave the extra wire on it in the event that I want to use it on anothe Heli in the future. I am eagerly awaiting my transmitter so that I can trim the servos and get the head set up and leveled.

T-Rex - Charger modifications

Ok some new developments, I got the parts I ordered in the mail, woohoo.


The DN Power charger I bought is a field charger, that’s fine but I may want to have the ability to charge in an outlet. Well being the geek that I am I have a smalex 13.8V 23A power supply that I used to use to power my peltier device when I was water-cooling and overclocking my PC. I posted the question to the HeliFreak forum "will this PSU work?" and sure enough someone is using that PSU to power their charger…Sweet! actually he is powering 4 chargers with it.
It was also suggested that I get rid of the banana clips on the field charger and use something else as they are dangerous. Well the PSU terminals take stripped wires, so I attached the stripped ends of a molex connector to the PSU. I then snipped off the banana clips and added a molex to the bare leads. Now I can make any kind of cable work with my battery charger, by adding a molex connector. At some point I may change to a more robust connector like the powerpoles suggested by z11355 on the freak forum. http://www.powerwerx.com/category.asp?CtgID=1001


I also soldered my Deans connectors on my Lipo batteries while I had the iron hot.

Sunday, August 27, 2006

T-Rex - ordered Transmitter

I am such a dumbass. I, when I ordered my servos and receiver, ordered a crystal for the receiver, and requested a random channel (49) If I think about it now I did it backwards, I should have ordered the crystal when I ordered the Radio, not when I ordered the receiver because it is very unlikely that I will find a radio in stock that happens to have the right channel. Lesson learned.

I ordered a Futaba 7CHP Transmitter, it seems to be a versatile radio, and good enough to meet my needs down the road when I get the T-Rex 600 or even an airplane.


Money in the pit:

I ordered this from modefosheli.com

$161.95 Futaba 7CHP

Total so far $1453.95

T-Rex - More parts ordered

Alright, more parts ordered. I have chosen the Futaba 9650 and GY401 gyro for my tail servo and gyro, this combination is the best for the Rex. The 9650 is a fast digital servo and the GY401 can be adjusted from the radio. There are plenty of other reasons why but that would be too much information.


I opted for a cheaper charger and battery combo. I will be learning how to fly this bird on these packs and won't really need the burst rates the some of the better packs offer when flying 3D. I chose the DN Power Combo that has a charger and balancer and comes with (2) 3S 2150mAh 15C Lipos.


I also ordered a bunch of odds and ends: velcro, wire loom for the servo wires, fun reflective tape for the rotor blades, more Deans connectors for the new battery's, and adapter for my charger to charge Thunder Power Battery, Deans solder, and a GY401 under the frame adapter.

I still need to buy a Transmitter (Radio)

Money in the pit:

purchased at ReadyHeli.com

$59.95 Futaba S9650 Digital Servo
$129.95 Futaba GY401 Heading Hold Gyro
$1.95 1" Velcro Hook & Loop Fastener - 1 Ft. Section
$0.95 Reflective Prismatic Blade Tape 1"x3" Purple Rainbow Mirror
$0.95 Reflective Prismatic Blade Tape 1"x3" Silver Rainbow
$4.95 Servo Wire Sleeving Kit - 1/4"
$3.95 Servo Wire Sleeving Kit - 1/8"
$2.95 Deans Solder
$3.95 One-Way Bearing Removal Tool
$129.95 DN Power Combo - Charger/Balancer & 2 Lipo Batteries
$2.95 DN Balance Charger to TP Battery Adapter
$3.95 Deans Ultra Pack (Male/Female Pair)
$1.95 Deans Female Plug
$18.65 RDLohr's SE Gyro Mount

Sub Total $367

Total so far $1292

T-Rex - Pinion issue

When I was routing my wires for the ESC, I noticed that the main gear was too low on the pinion and was in danger of getting chewed up by the shoulder on the pinion. So I removed the servos and removed the motor. My T-Rex kit came with a motor and ESC also in the kit were two sets of motor mounting screws and washers, as there are two sets of different diameter mounting holes on the motor itself, I used the smaller washers as a shim between the motor and the mount to moved the main gear off of the pinion shoulder.

(pinion shoulder)


After re-installing the motor with the washers I clearly have a enough room and my main gear isn't in danger of getting chewed up. I set my gear mesh using the paper method, where you slip a piece of paper between the pinion and the main gear.

Saturday, August 26, 2006

T-Rex - Soldering Motor/ESC and Deans connectors

The next step is to solder the conectors on the motor and the ESC, the kit that I have came with the motor and ESC as well as the bullet connectors and heat shrink tubing. I started to re-tin the wires and noticed that my solder wasn't flowing well and realized that the iron I was using was only a 23 watt iron, so off to Radio Shack I went. I bought a 45 watt iron and an additional tip...more money in the pit. It is also good to have desildering braid on hand if your solder gets messy. The solder job went as planned and I also did the ESC with a Deans connector that I ordered when I ordered the servos and such.


I am now able to plan my wiring route so that all of my wires are neat and tidy. It took quite a while to figure out how I was going to route the wires but I did it and this is how it looks.


Money in the pit

$ 10.00 Soldering iron and tip
$ 4.00 long handled allen keys

Total so far $925

T-Rex - Parts arrived

I love getting packages in the mail! My servos and receiver are here so I can start installing some electrics and keep progress moving on this build. Here is a pic of my unopened parts.

I watched the finless "installing servos" video on HeliFreaks forum in preparation for this step as the servo placement in the frame is important. My HS65MG's didn't just slide right into the frame such as Bob's did in the videos, but I managed. Instead of using shoe goop on the back of the servo to hold the servo mounting tab, I used a drop of CA, the cure was faster. I also had to remove a frame support in order to install my servos.

Thursday, August 24, 2006

T-Rex - Tail assembly

These steps were easy, I installed the blades on the tail hub and attached it to the boom. In order to get the belt down the boom I snaked a piece of dental floss down the tube and attached it to the belt then pulled it through. I attached the fins to the boom and fitted the boom into the frame to see what it looked like, I also slipped the belt over the tail gear to test the movement. I am not going to secure the boom to the frame yet as I will need to remove the tail to install the servos, rx, ESC, etc. Hopefully I will be getting my servos and rx in the mail today.

Wednesday, August 23, 2006

T-Rex - New parts ordered

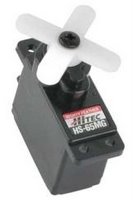
I ordered some electronics for the Rex as they are needed to move forward with the build. I will say that my choices were based on extensive research, and I will briefly discuss why I have chosen the parts that I did. Servos are what control the heads angle and also the blade pitch. There are many different kinds, sizes, and brands of servo. The T-Rex being a smaller heli requires a "micro servo" I have chosen the Hitec HS65 MG, this servo has metal gears which is why it is the best for my heli. When you crash your heli (you will crash) your servos will most likely get stripped if you are using the standard plastic gears.

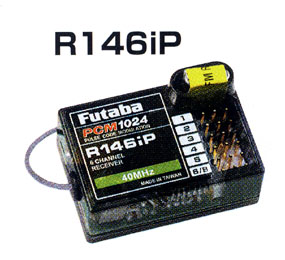
The next component that I bought was the Futaba 146ip receiver and crystal. The receiver (rx) is the device in the heli the receives the radio stick inputs (up, down, left, right, etc.) The 146ip is just a very popular rx for my model, I will also be buying a Futaba radio when my wallet permits me to.


I needed a few other miscellaneous tools and parts. I bought a blade balancer, a pitch gauge, some Deans connectors, a swash leveler.

Money in the pit

All of these parts are from ReadyHeli

$3.95 Deans connectors
$11.99 Pitch guage
$74.95 Futaba 146ip receiver
$12.95 Receiver frequency crystal
$107.85 (3) Hitec HS 65MG micro servos
$4.95 Blade balancer
$13.95 Swash plate leveler

Sub total $230.59

Total so far $911

T-Rex - Electronic speed controller mod

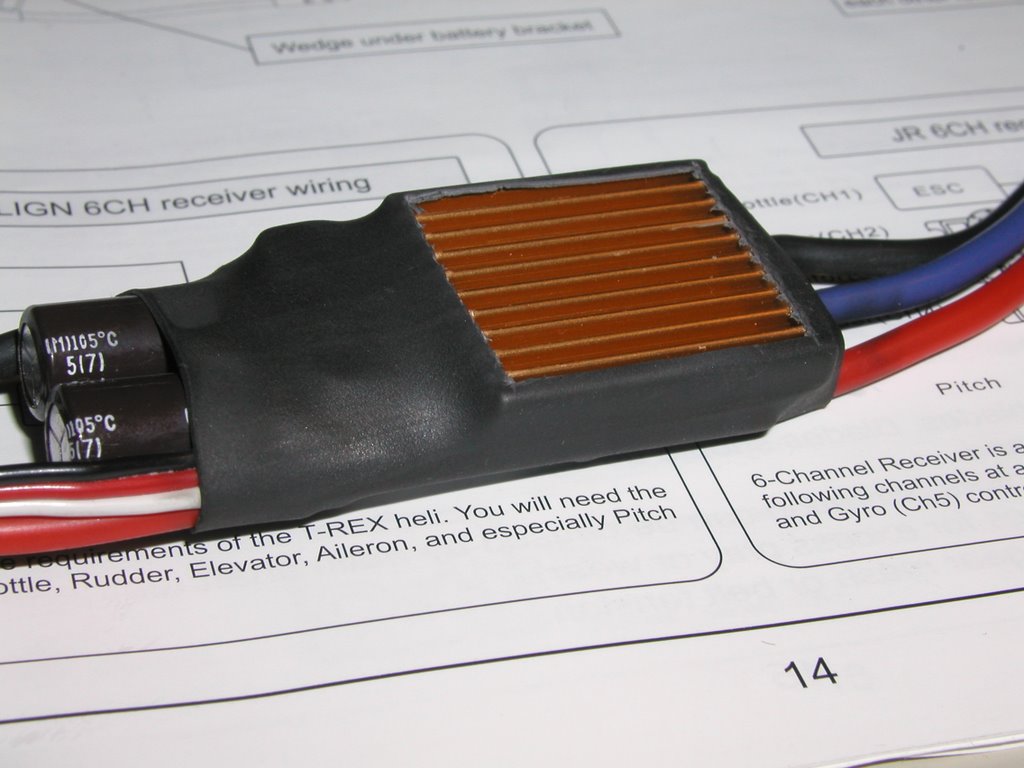
Ok Align has done something really strange with the latest version of their Electronic Speed Controller (ESC). It seems that someone over on R&D decided that it was alright to mount the heatsink on the outside of the heatshrink tubing! not a great idea. I found this nifty little tidbit in the HeliFreak forum, and followed the directions layed out by Finless.
I will remove the heatshrink tubing and heatsink and thermal epoxy it to the appropriate spot on the controller, then I will re-apply the heatshrink tubing. Here is a "before" picture of the ESC


Here are a couple of shots of the process and the after.
I am happy with the way it turned out. I made sure that I didn't bridge the connections on the MOSFETS


Money in the pit
$11.00Artic Silver epoxy from newegg.com

Total so far $681


T-Rex - more progress

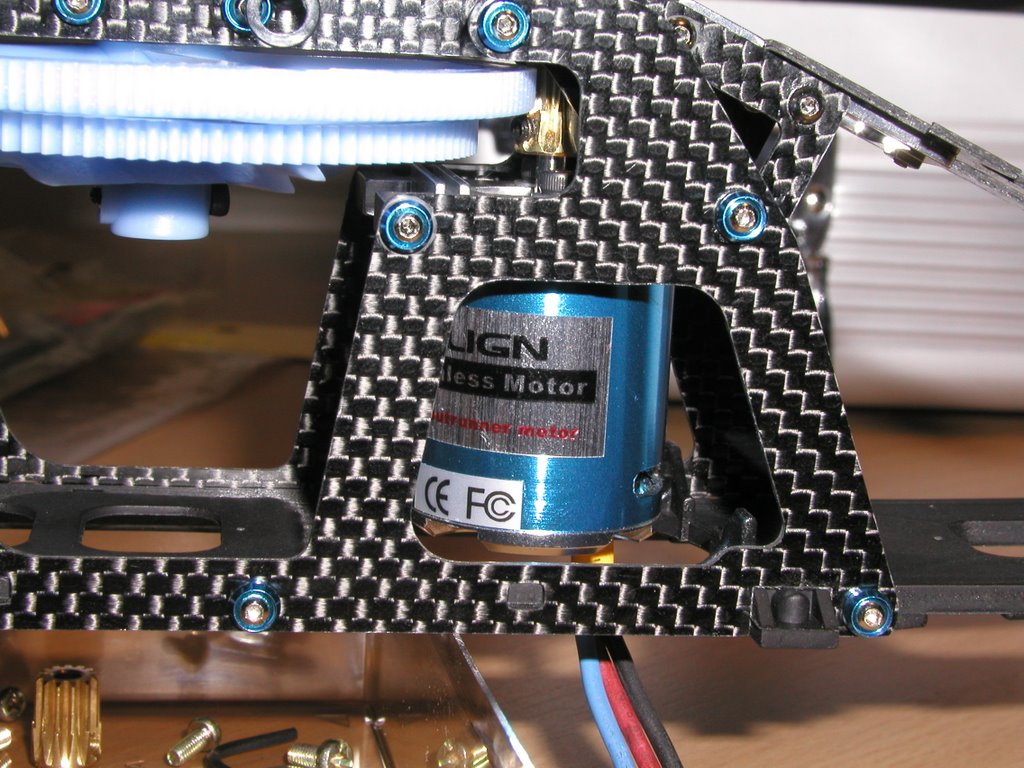
I was able to get some more work done on the Rex last night. I installed the motor which proved to be a real pain. I need to buy better allen keys, the ones I have are the standard "L" shaped ones and they make it really hard to fit in tight areas. I will be picking up some of the ones with handles like a standard screwdriver. Installing the motor and getting the gears to mesh took quite a while as they need to be just right. The next step was to assemble the landing gear and install on the frame. This step was easy yet a pain in the butt as the screws to secure the gear to the frame are the smallest allen screws you have ever seen and I think the plating on the allen head had filled in the screw head preventing my allen key from seating properly. I did get it installed.

Tuesday, August 22, 2006

T-Rex Kit - progress

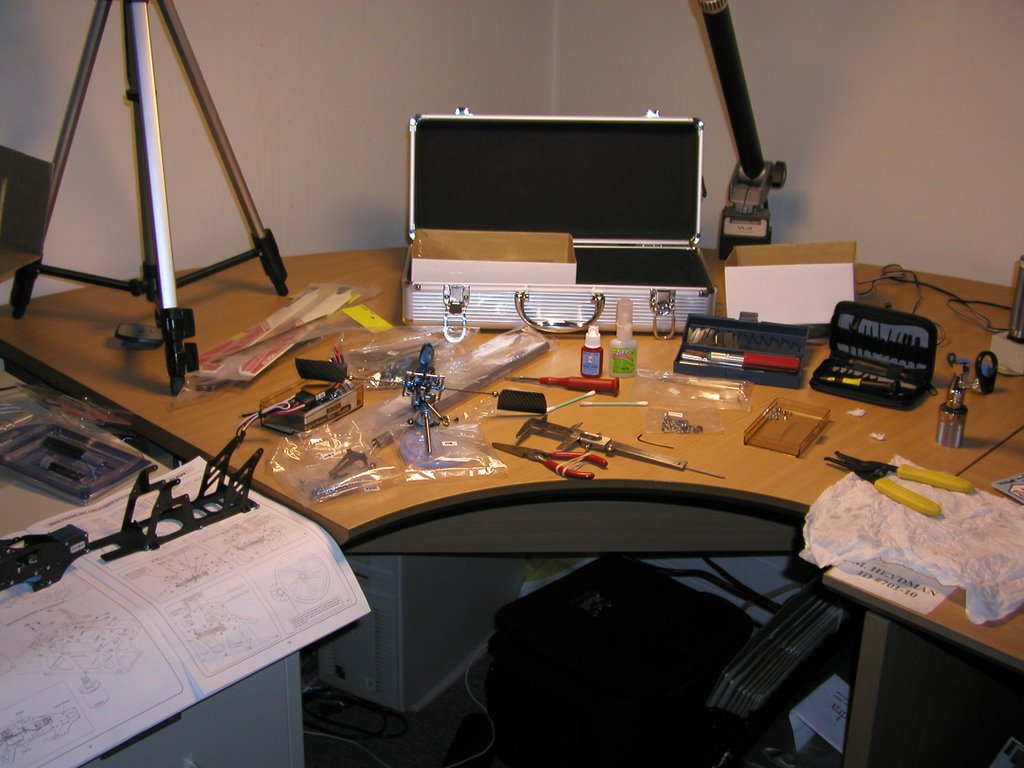
Here is a picture of the progress that I have made thus far. I will state that the instruction manual leaves something to be desired. Most of the instructions are just an exploded view of the section you are trying to build with very little text detailing the most logical path to take in completing the section. Trial and error is part of the fun...I guess.


I also purchase more tools for this project. The kit comes with 2 small screw drivers and some allen keys but they are kinda whimpy so I bought some new ones. The kit also has two small containers of threadlock of different strengths, mine happened to leak thus requiring me to buy more. I also bought some Teflon/Silicone lube and some CA super glue and Zip Kicker. Oh yeah and I also bought some Calipers for measurements.

Knowing that this project was going to take a long time to complete and quite a significant sum of $, I had to prioritize what parts I bought and when. I decided to buy a flight simulator so that I can hone my flying skills while I build and buy and save for the parts for this Heli.

Money in the pit:
$400 for the kit
$200 for the flight simulator
$7.00 red threadlock
$4.00 blue threadlock
$10.00 CA and Zip Kicker
$12.00 calipers
$15.00 screw drivers and torx
$4.00 flybars
$17.00 325mm Pro Wood blades
$5.00 Teflon/Silicone Lube

Total so far $674