I finally crashed it! I m not a virgin any more. I totally dumb thumbed it right into the ground. With all the time I put into the build I didn't have time to fly on the
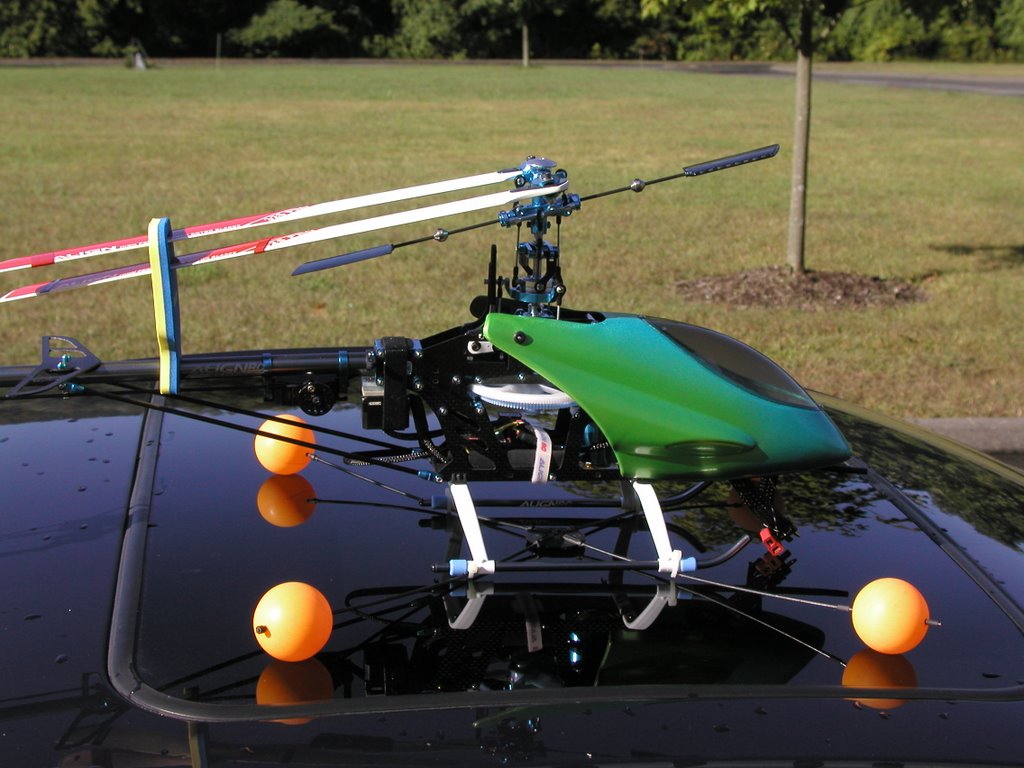
sim and it shows. I have since made it a policy to fly every night regardless! I am about ready to get rid of the training gear, I know I can fly without them, I was just trying to protect my investment.
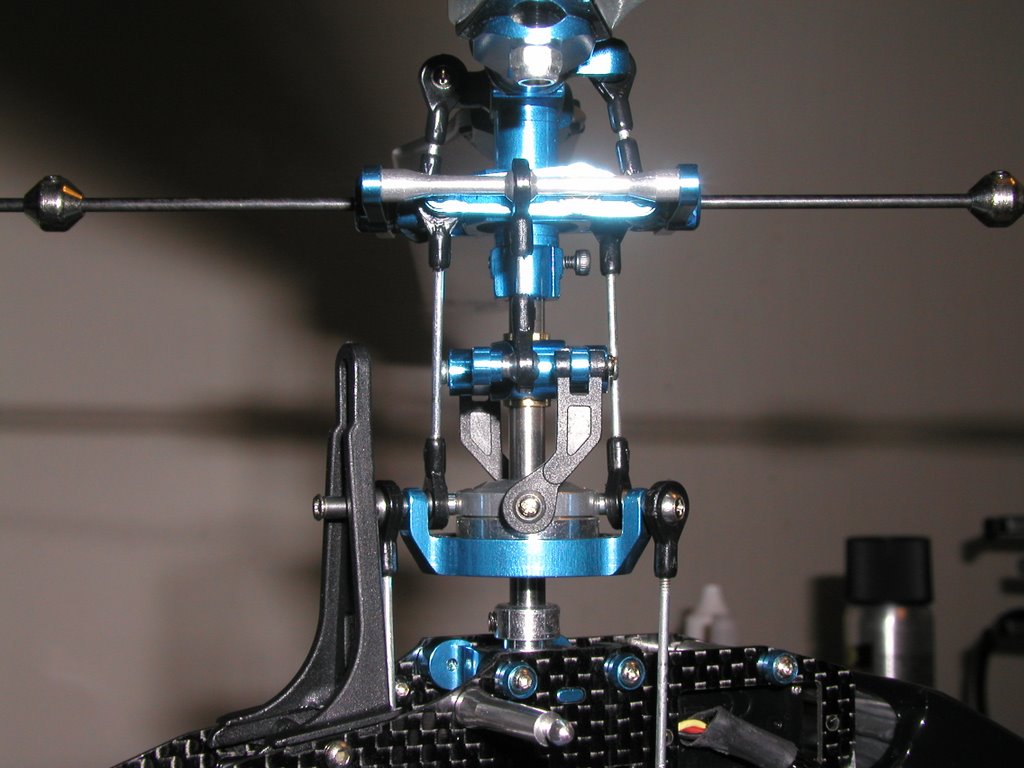
Crash Analysis:
Feathering shaft
Fly bar
Main Shaft
Main gear,
Landing gear
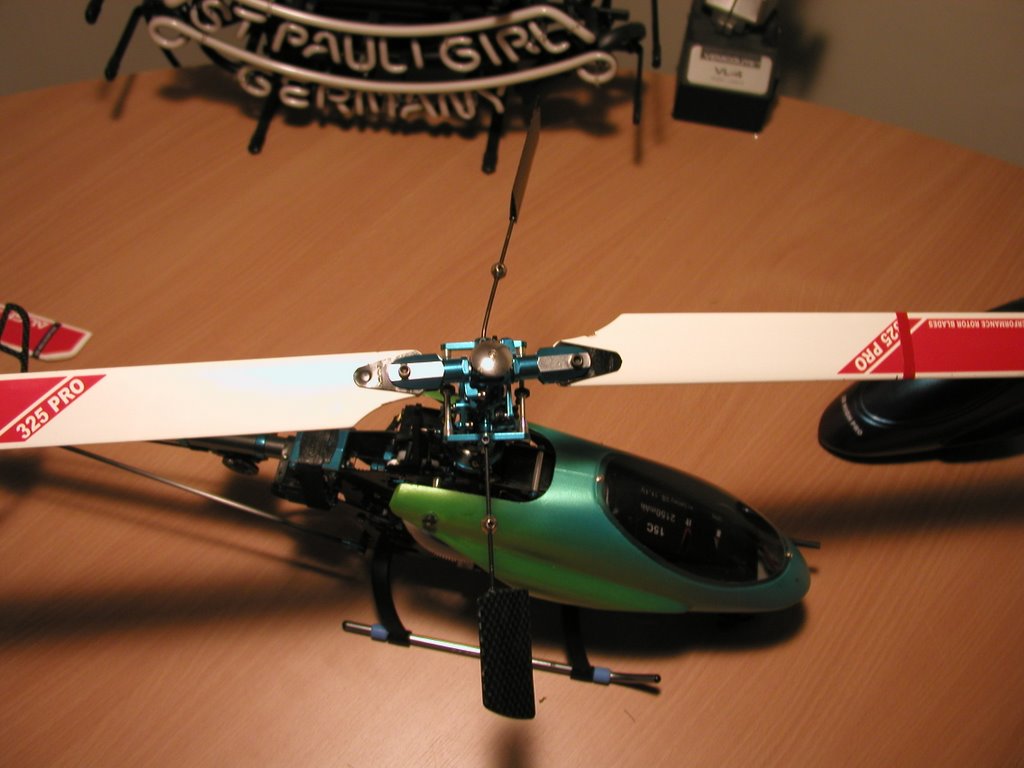
Pro Wood blades
I had most of the parts except for the landing gear, main shaft, and main gear. My
LHS had everything I needed. The actual cost of the crash wasn't that bad... maybe $25, but I bought some extra parts that I know I will need for future crashes.
Here is a video of the crash
http://video.google.com/videoplay?docid=-1279739640755098434&hl=enI will be adding more pictures soon, my
friggin server is not liking my
usb 2.0 card and I am too impatient to transfer pictures @
usb 1.1 speeds.
Money in the pit:$89.00 various parts from
Hobbytown USA
Total so far:$1678.20